Do you need GST software guide to file GST returns? Gen GST software is a complete GST (Goods & Service Tax) billing and returns filing software developed by SAG Infotech Pvt. Ltd. The software allows Indian taxpayers to easily file their tax returns online and create GST compliant bills and invoices.
It can also be used by Chartered Accountants (CAs) to professionally maintain GST accounts and file returns on behalf of their clients. Since Gen GST supports unlimited client registration and returns filing, it is definitely the perfect tax application for professional businesses and CAs.
The Goods & Service Tax (GST) was implemented on July 1 as the biggest change ever in the Indian tax system. It effectively replaced most of the indirect taxes with one GST tax which defines certain rules, tax rates, and the provision for filing GST returns online.
In general, a taxpayer needs to register on the GST Portal and file his/her tax returns online every month or as per the schedule specified by the government.
However, you can now use the Gen GST billing software that gives you the ability to file tax returns online without having to visit the Council website.
You can also create GST compliant bills and invoices easily using this software. Gen GST is also suitable for the CAs who want to file returns for multiple clients from a single platform.
In this GST software guide, we will discuss the process of creating invoices and filing returns using Gen GST.
Billing and Invoicing
Gen GST software gives you the ability to easily create GST compliant invoices for any number of clients, right from the dashboard. In order to create an invoice, you need to follow the step-by-step procedure below.
Step-1: Creating the Setup
1. Click on the ‘Bill’ option in the master menu given on the left side of your Gen GST dashboard.
2. A new sub-menu will open which has items like Invoices, Advance, Credit/Debit Note, eWay bill, etc.
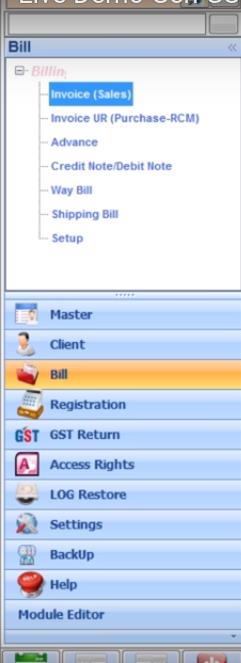
3. For creating invoices, users will have to create the Setup first. Click on ‘Setup’ tab (last option) in the Bill menu. A new panel will open in the main area.
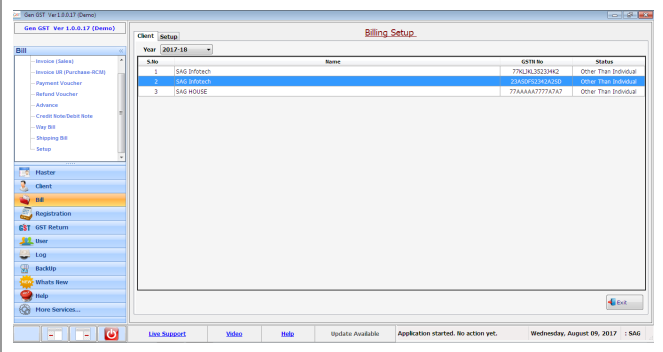
4. As you can see, there are two options, Client and Setup, in the top menu.
5. Click on ‘Client’ tab first and select the client for which you want to set up invoices.
6. Now, click on the ‘Setup’ tab. A new panel will open where the user can choose the setup detail for invoices. The user has to select the options carefully and click on ‘Save’ when done.
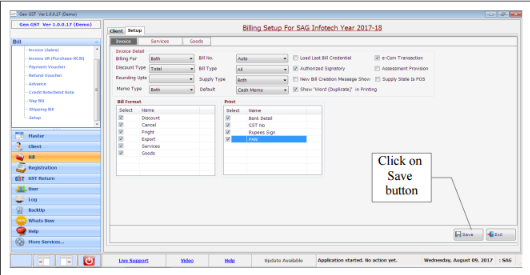
7. Then, click on ‘Services’ to create services settings. Click on ‘Save’ button when done.
8. Then, click on ‘Goods’ to choose the settings for goods. Click on ‘Save’ button to save the details.
Step-2: Creating the Invoice
1. Click on the first option in the Bill sub-menu, i.e. Invoices (Sales) to create an invoice for a sales transaction. A new panel will open in the main area. There are four options, Client, Receiver, Goods, and Services, in the top menu.

2. Click on ‘Client’ tab to select the client. There is also an option at the bottom for ‘Bill Format Setup’ which can be used to set up the original bill format. (You can add new clients from the client tab in the main menu.)
3. Click on ‘Receiver’ tab to select the receiver details.
Click on ‘add’ button to add a new receiver. You can either add details manually or import receiver details from other places. Fill in the required details and click on ‘Save’ button to save the receiver information.
4. Now, click on ‘Goods’ tab from the top menu to add the details of goods. A new panel will open where you can enter details like Memo type, Dealer type, Bill type, Invoice type, Supply type and other details like the discount, invoice number, etc. You can add as many goods as you want here. Click on ‘Save’ button when done.
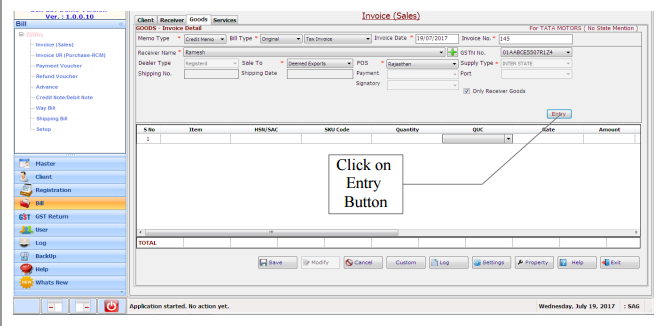
The Multiple Entry features allows the user to add multiple Goods entries at the same time.
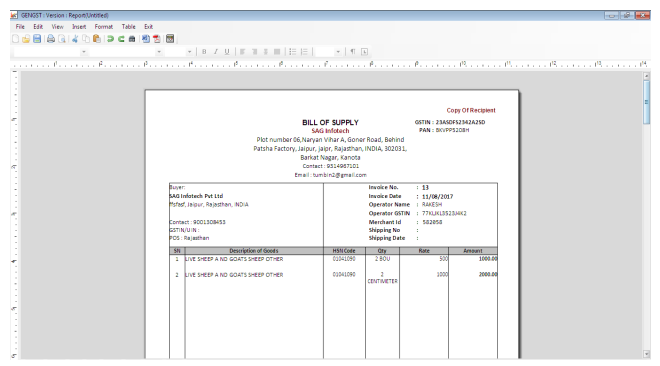
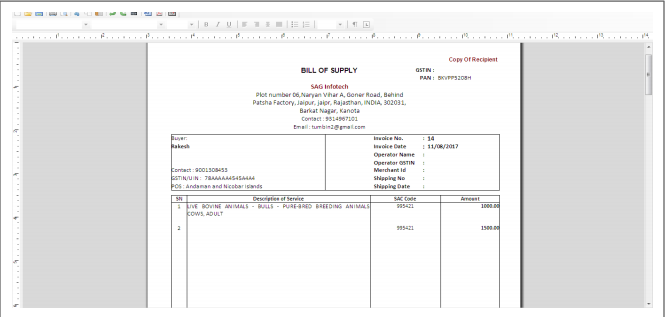
5. When you are done entering goods, save the details and take a printout. This is your ‘Bill of Supply’ for goods.
6. The same way you can add services after selecting ‘Services’ option from the top menu. Click on ‘Add’ button at the bottom. A new panel will open where you can add the details like Memo type, dealer type, Bill type, RC%, receiver name, Revise No., Invoice No., etc. for a service. You can also add multiple services entries here as well.
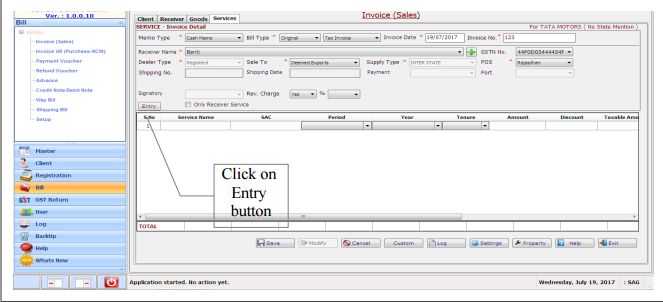
7. Click on ‘Save’ button at the bottom and take a printout. This is your ‘Bill of Supply’ for services.
In the same manner, you can create invoices for purchase, advance, way bill, credit note/ debit note and shipping bills using the options given in the ‘Bill’ sub-menu.
Filing GST Returns
Besides creating GST bills, another major use of Gen GST software is to file e-returns of taxes. Here, we will learn just how to do that. We will take an example of the GSTR-3B form. The other returns are to be filed in the same way.
Step-by-step process for filing GSTR-3B using Gen GST
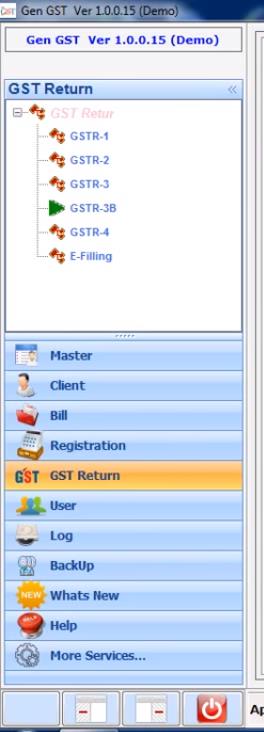
1. Click on ‘GST Return’ tab in the main menu on the left side of your dashboard. The sub-menu will open at the top which contains options like GSTR-1, GSTR-2, GSTR-3, GSTR-3B, and so on.
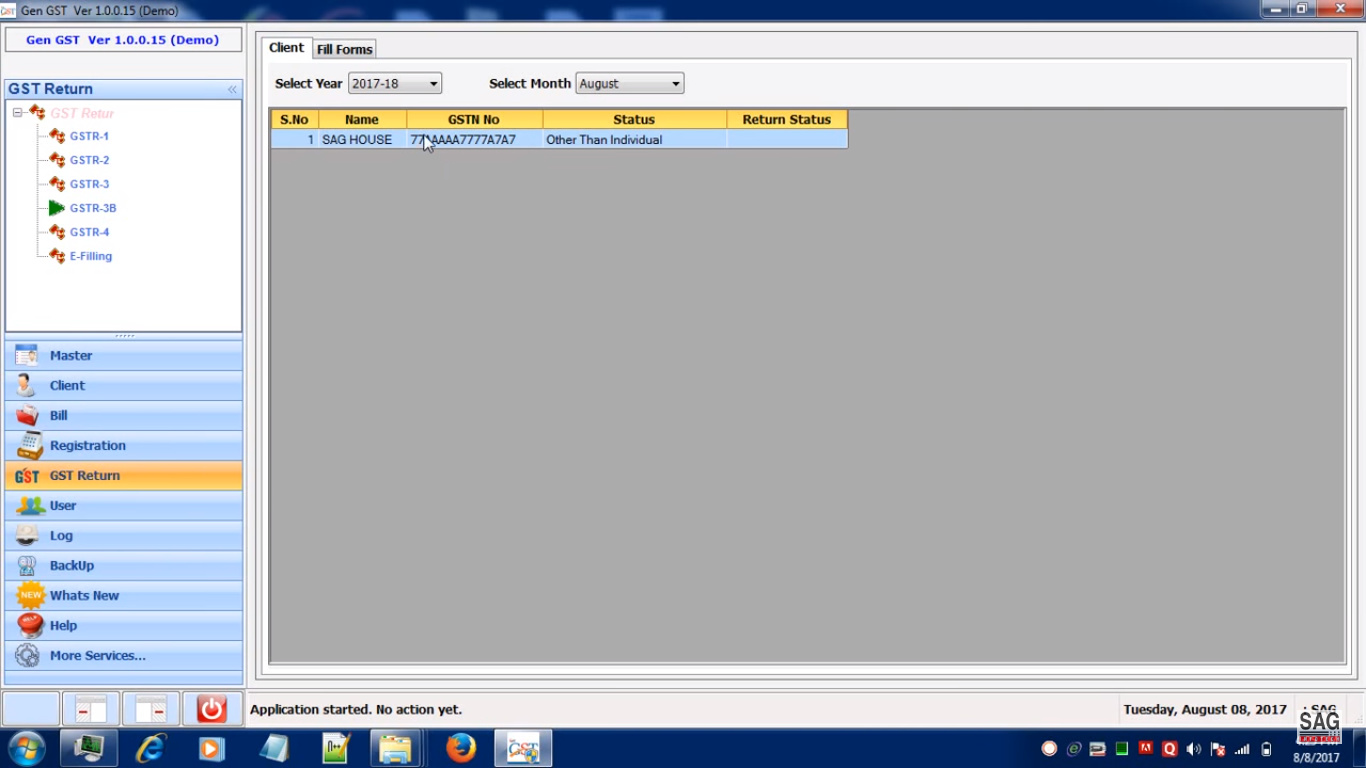
2. Click on ‘GSTR-3B’ option. A new panel will open in the main area. It has two options, Client and Fill Forms, in the top menu. Click on ‘Client’ tab and select the client for whom you want to file the return.
3. Now, click on ‘Fill Forms’ tab from the top. A new panel will open where the details of outward supplies, inward supplies, inter-state supplies, Nil rated supplies, ITC eligibility, and tax payment information are furnished.
4. Click on the first tab, i.e., Outward supplies and Inward supplies. Now, enter the details like total taxable amount, integrated tax, State/UT tax, Central tax, Cess, etc. for your outward supplies (sales) and inward supplies (purchases) of specific products.
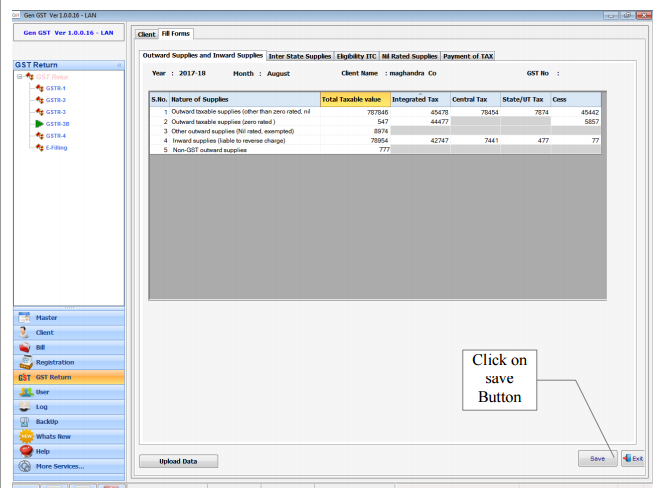
When you are done, click on ‘Save’ button at the bottom. There is an ‘Upload’ button available at the bottom which you can use to upload the details on GST Portal using your login details.
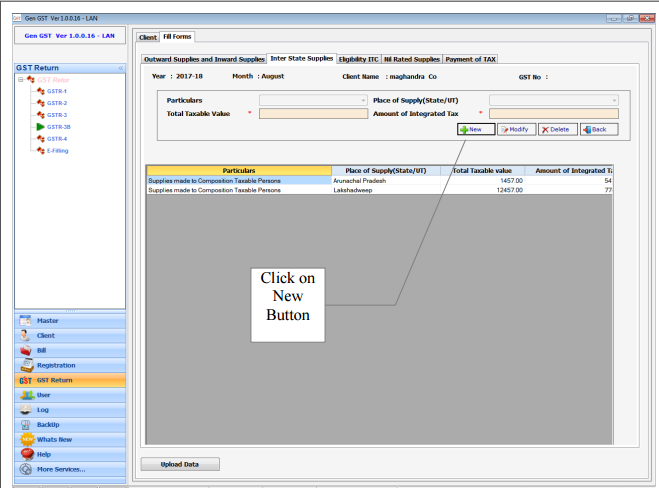
5. Now, click on Inter State Supplies tab to fill the details of your inter-state supplies (made to unregistered person, composition taxable person and UIN holders). A new panel will open. Click on ‘New’ button to add a new supply. When you’re done, click on ‘Upload Data’ button at the bottom to upload the details on GST site.
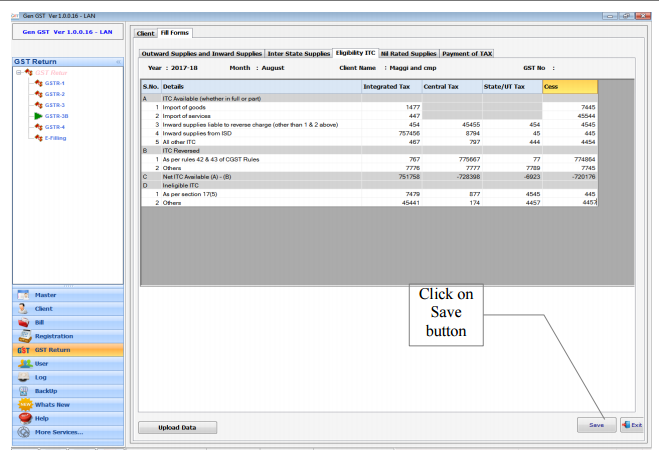
6. Click on Eligibility ITC tab from the top to add the details of Input Tax Credit. After entering these details, click on ‘Save’ button and then ‘Upload Data’ button to upload the data on GST Portal.
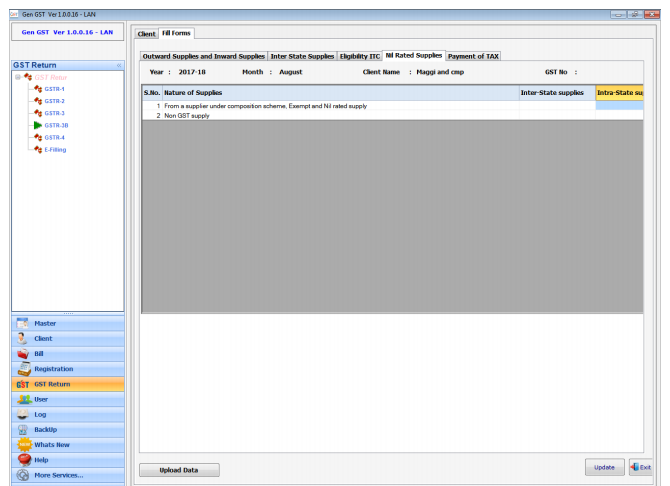
7. The next tab is for Nil Rated Supplies. It will contain the details of purchases of GST exempted, nil-rated and non-GST goods & services. Enter the details and save and upload data.
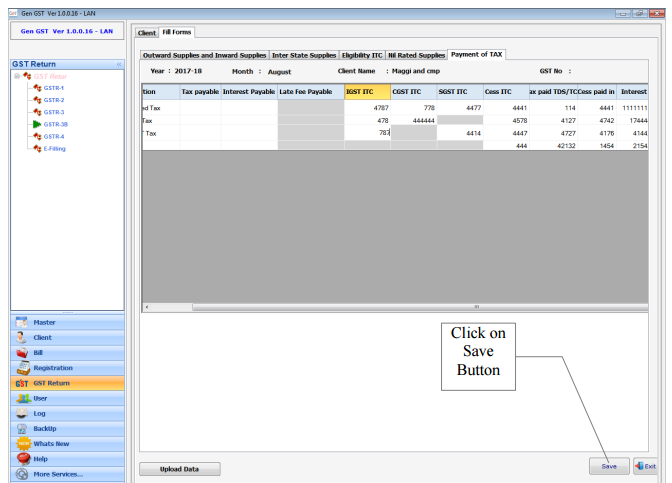
8. Payment of Tax: Click on the next tab to furnish the details of total tax payable, interest, late fee, ITC applicable, tax paid, etc. After entering the details, click on save and upload data to the GST site.
The remaining GST returns like GSTR-1, GSTR-2 and others will be filed in more or less the same way as above in GST software guide.